
If you're new to the Quiltsmart methods, we utilize fusible interfacing to make our patterns, easy to use and easy to follow. The printed interfacing has the pattern right on it with sew lines and everything, making the hardest part of this pattern picking the fabric!


Our Lop & Fuse tool makes getting the right shape as easy as matching the lines on your mat and cutting. You'll get the right shape every time!
On the printed interfacing, you will find sewing and placement lines. The instructions will guide you through which lines are which, and once you've completed one square, it comes naturally. You will end up with a fused square that looks something like this.

After pressing everything flat, and sewing on the lines, you'll get Maple Leaves!

Follow the included instructions for placement and adding your contrasting squares. This part was really fun for me, but I did struggle with finding a fabric I loved for those squares. I tried about 4 different fabrics before finding one I love. That's why I say picking the fabric was the hardest part. The Maple Leaves sewed together quickly and easily with no issues whatsoever. What I ended up with was this;

The finished top looks smaller than it is in this photo, but it's actually quite large, and perfect for the average dining room table.
 I used my hand quilting frame to baste and pin the table runner to the batting and backing, this held everything in place so I only had to worry about the table runner.
 The quilting didn't take much time at all. You can get really fancy with it if you'd like. But, I just did a straight stitch using the stitch-in-the-ditch method and outlined the leaves. For the solid squares, I did an x pattern across the squares. This was done on a simple sewing machine with very few stitch options, making it a great way to quilt on virtually any sewing machine.
 I made the binding using leftover strips of fabric from the green and blue fabric used for the leaves. I alternated the colors in the binding to create a multi-colored affect. You can use any binding you'd like, or get super creative with it if you'd like.
 I was really happy with how the table runner came out, and how quick and easy the pattern was to put together. I would definitely make this again as a lap quilt or bed runner, or even as a gift for someone.

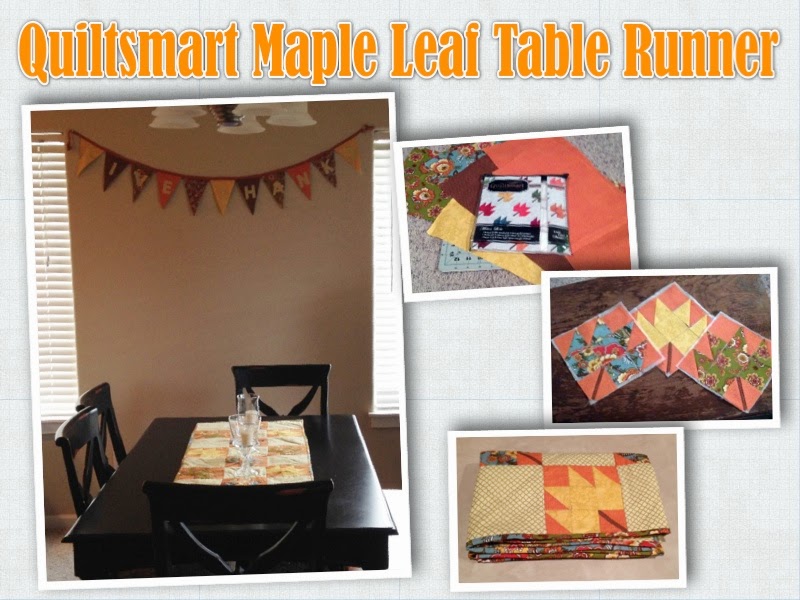
Since I had already made the Quiltsmart Banner Flags using the same fabric collection, it only seemed natural to put them together in my dining room. The Banner Flags read "Give Thanks" and use the Quiltsmart Raw-Edge Letters. I am having guests over this weekend for a big ham dinner, and I can't wait for them to see these!

No comments:
Post a Comment